Remix
Aug 14, 2022
Welcome to Remix from Fadr! The purpose of this guide is to explain in full detail all of the features and controls that are available within Remix.
What is Remix?
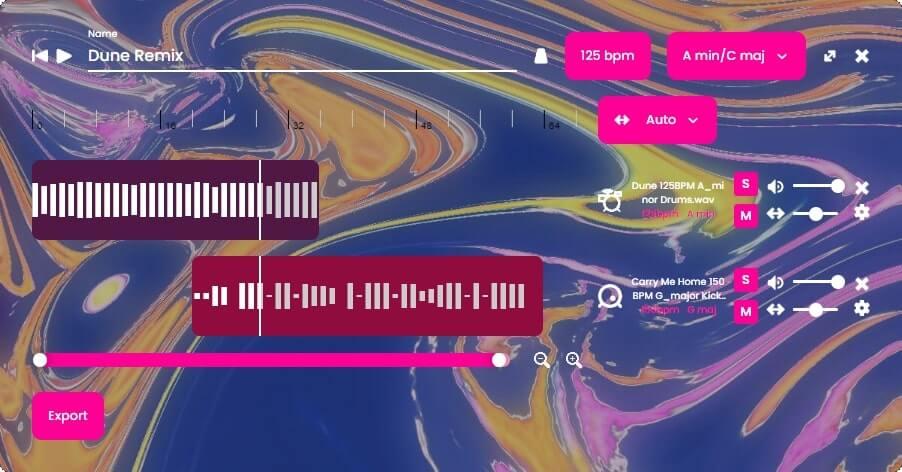
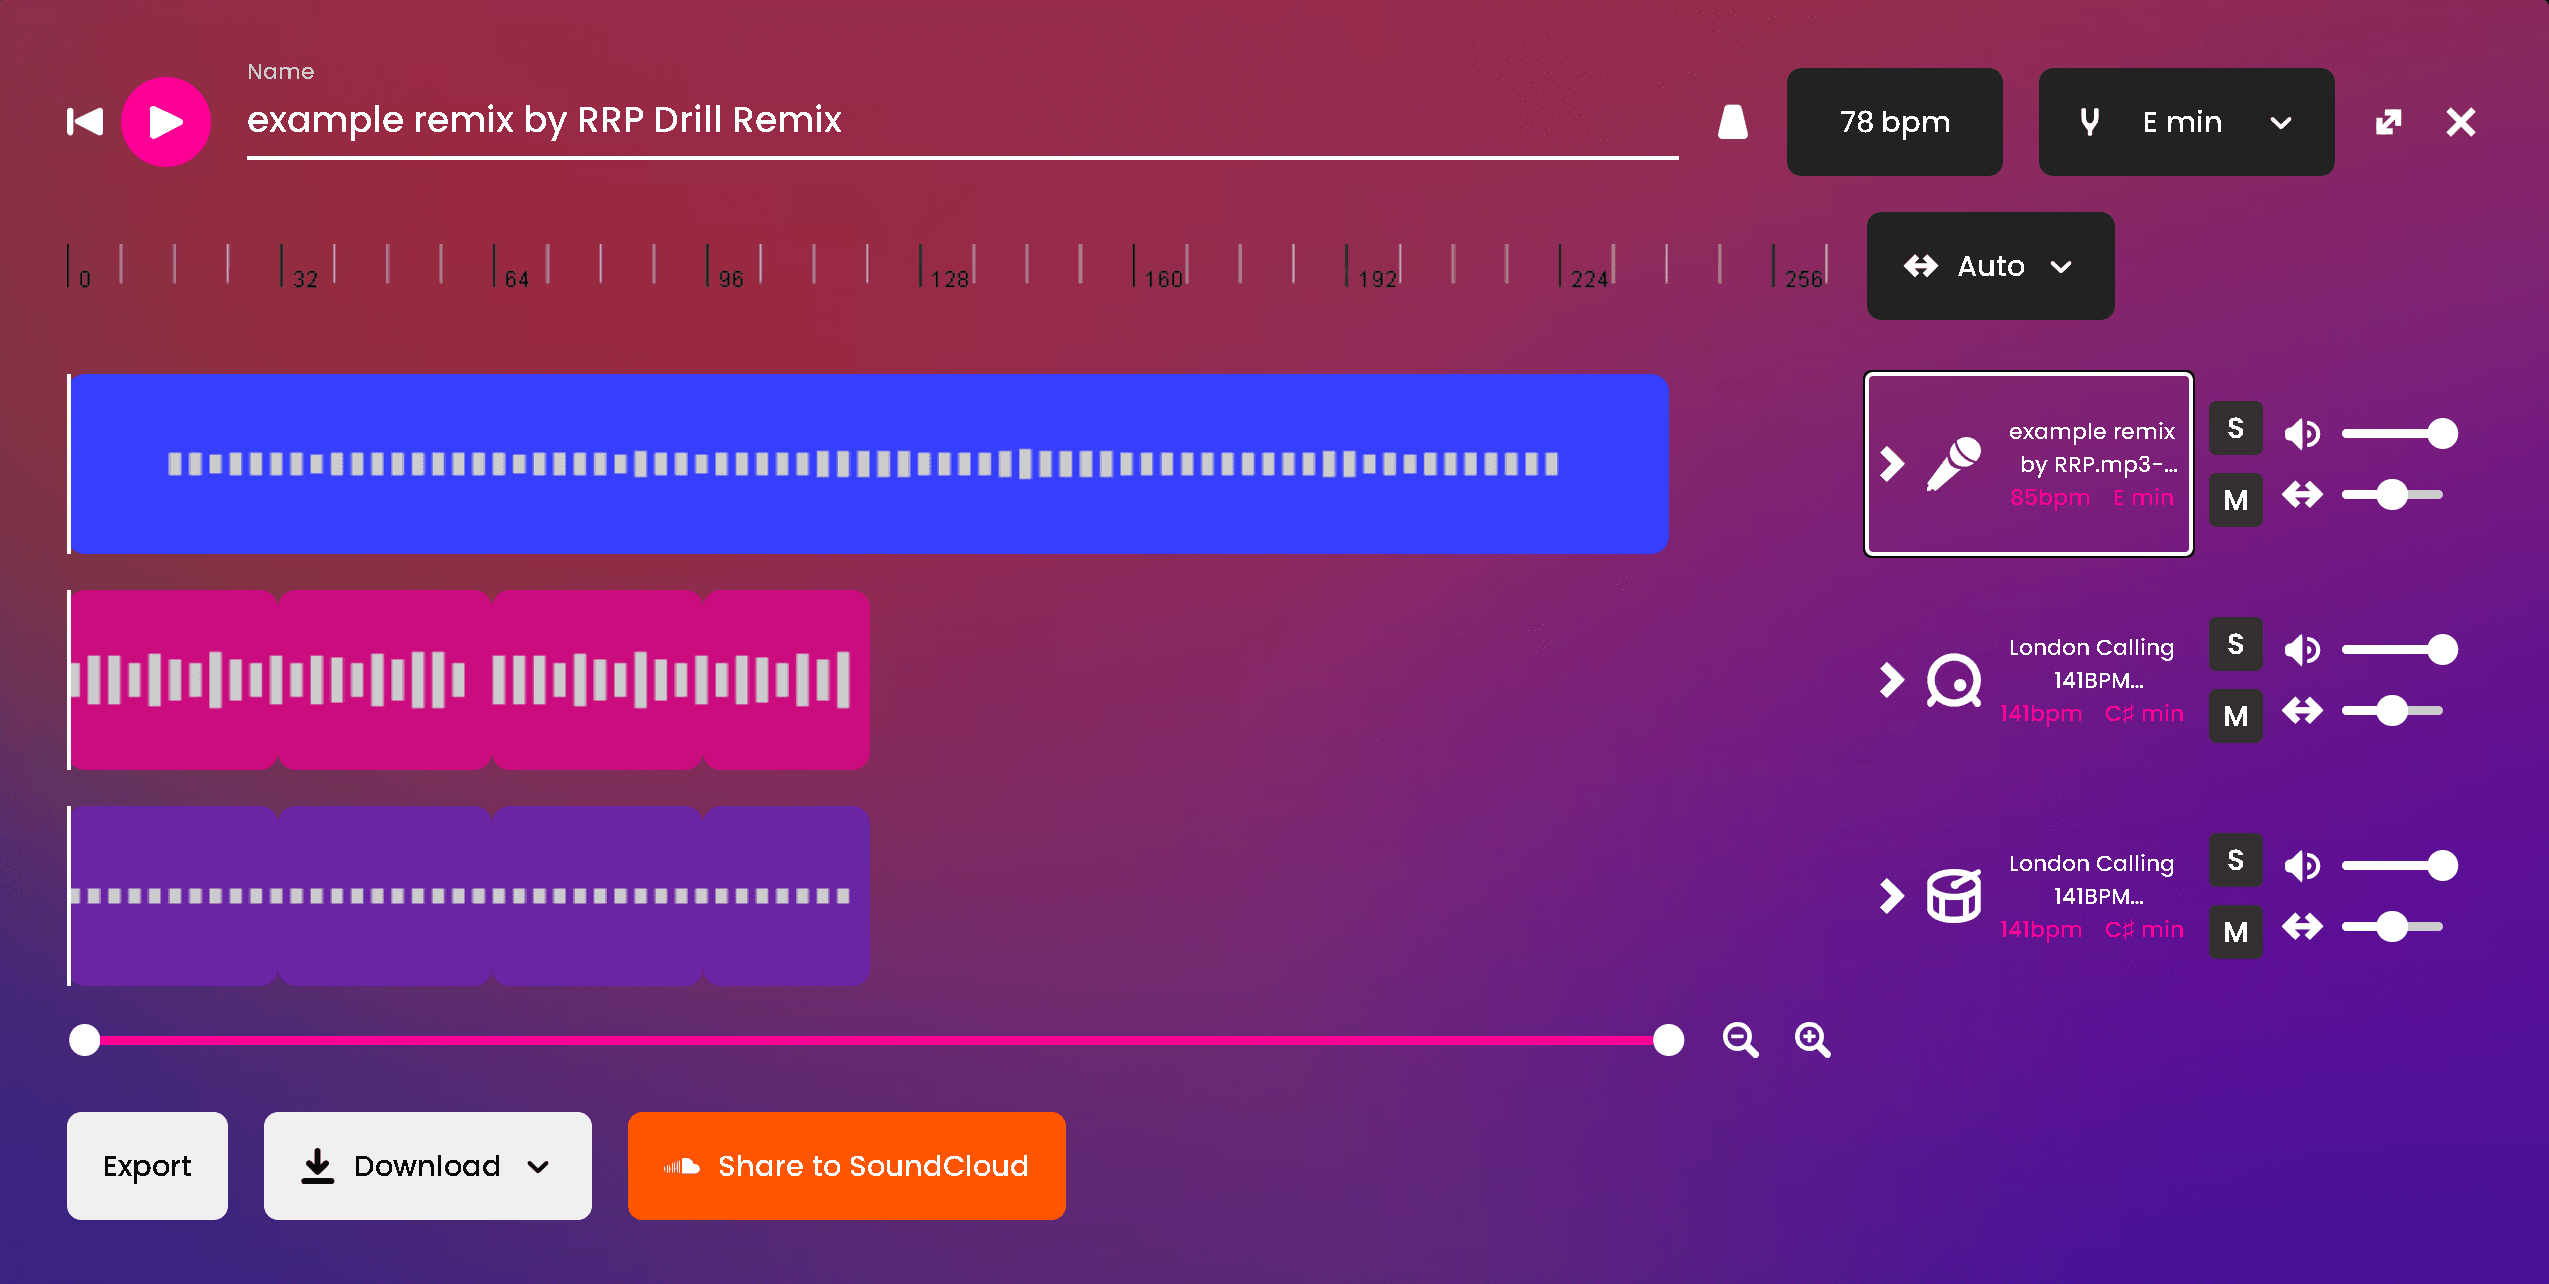
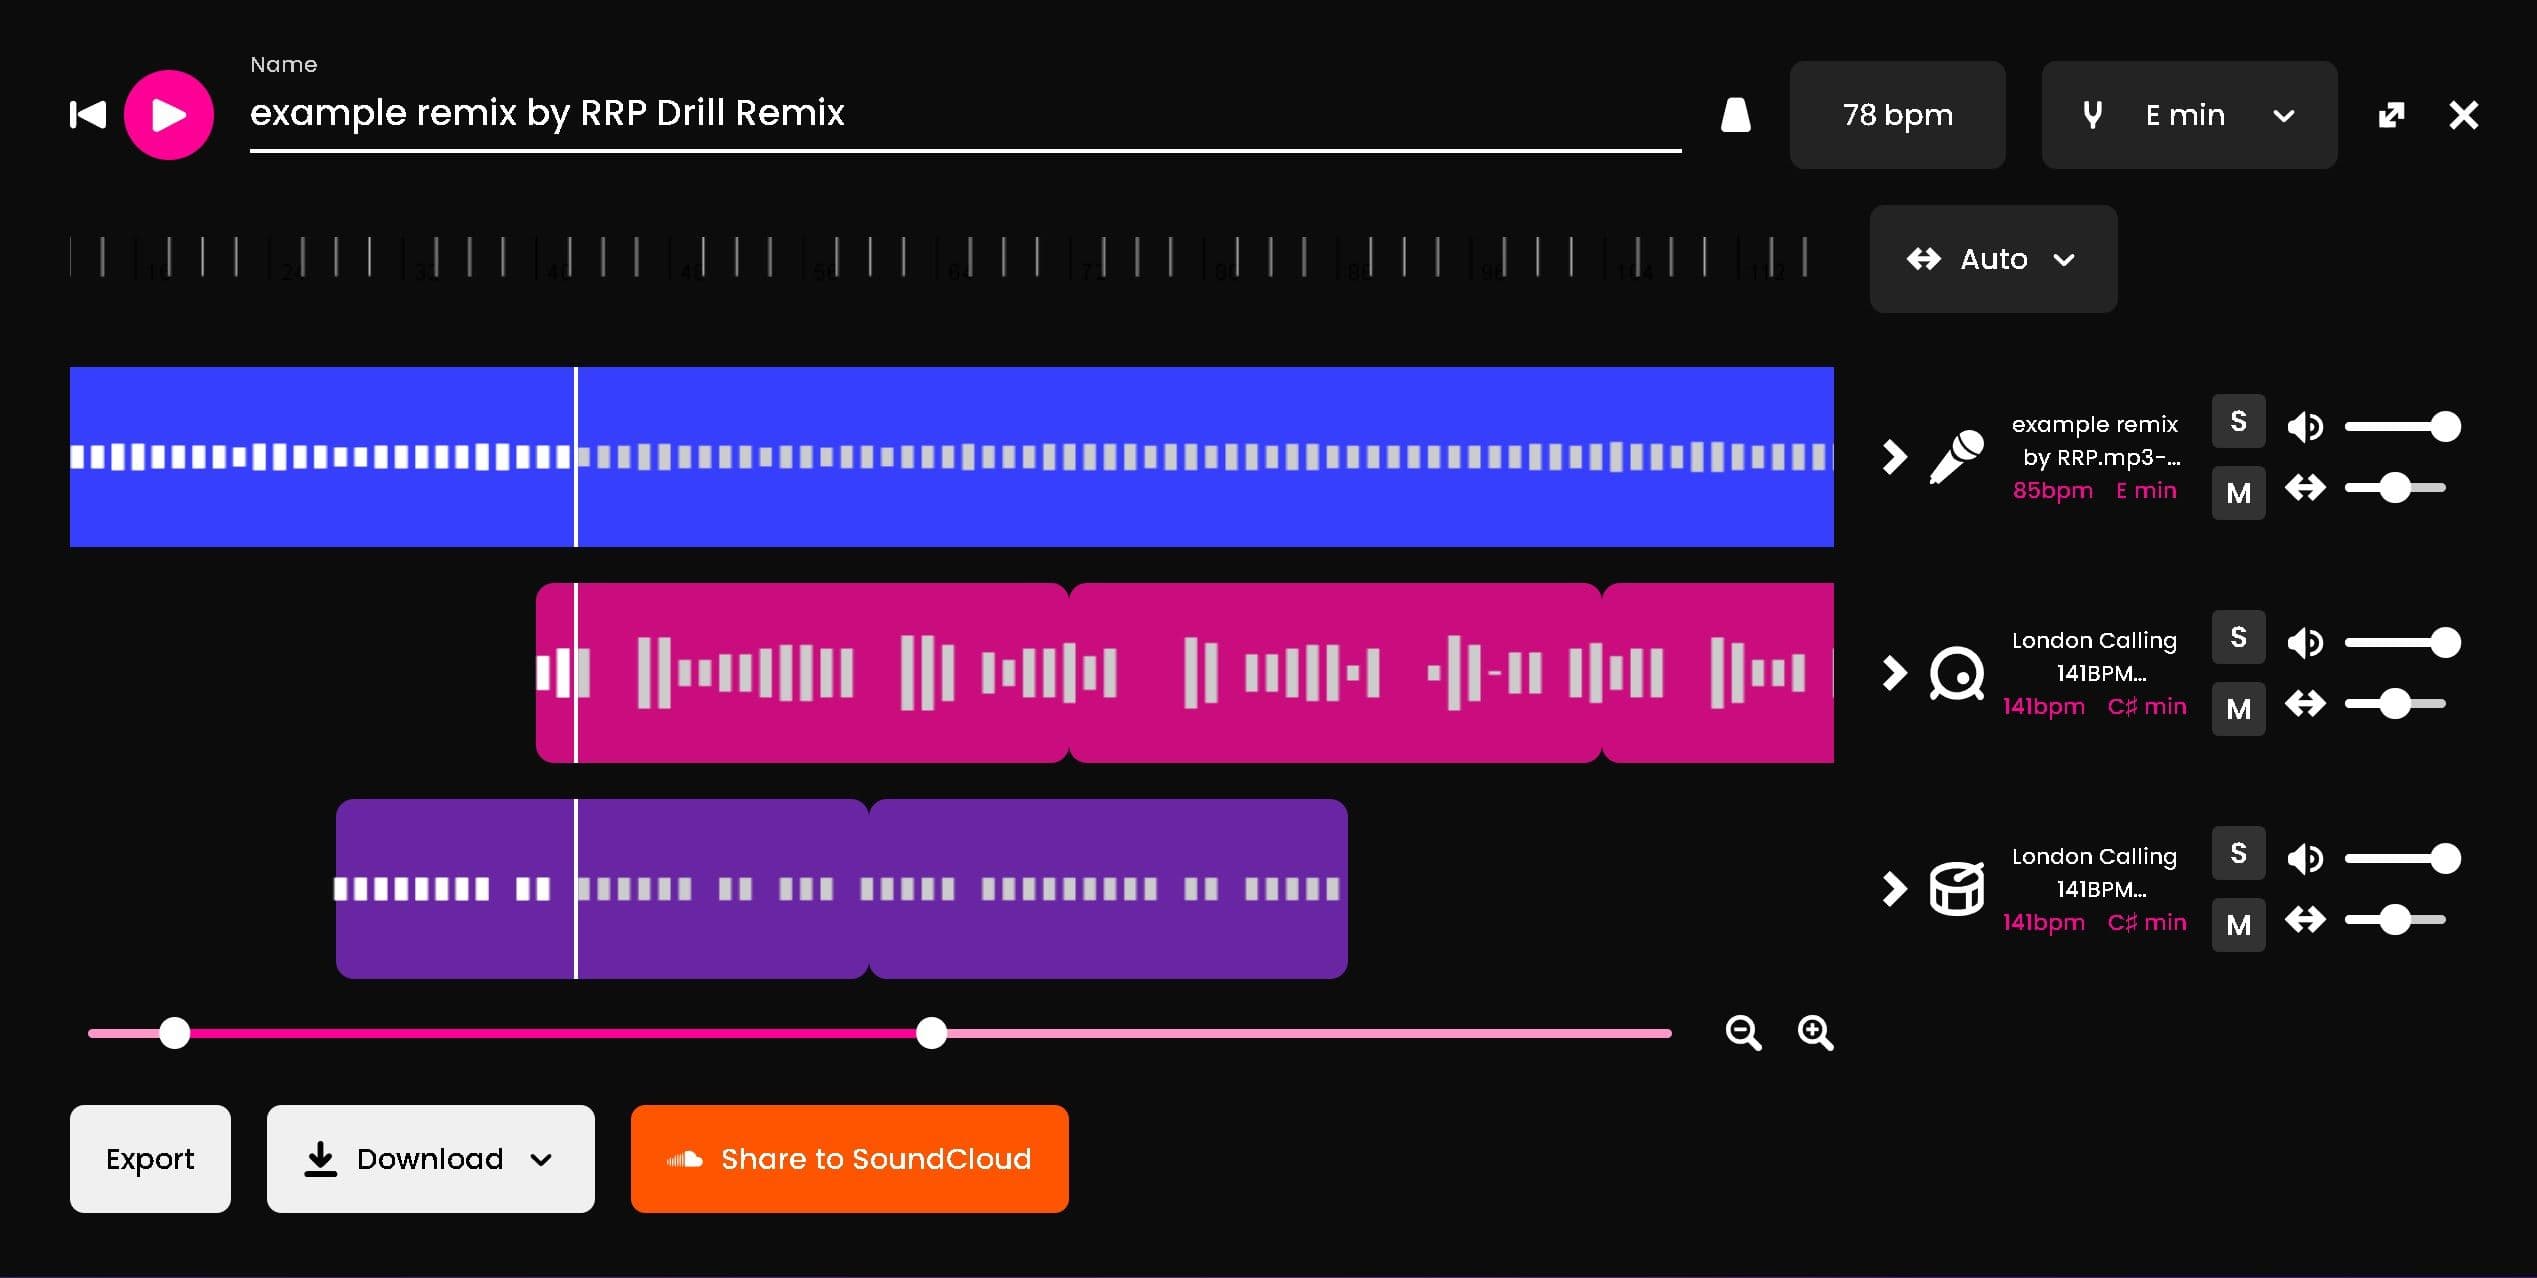
Remix is a tool for creating music primarily in the form of mashups or simple remixes. Any songs uploaded to Fadr will be separated into different stems. If you are unfamiliar with stems, please see our Stems Documentation first, then return to this guide. In Remix, you can combine stems from any songs together and our AI remixing engine will automatically synchronize them, meaning their beats will be aligned and they will have the same key. The user (you) can then make some fine-tune adjustments and export a high quality render of your creation.
The Remix Page

When you first navigate to the remix page, you will be presented with this screen. Currently, no remix is loaded, but there are several ways to start making a remix. In the lower half of the screen is the browser, which contains all of your previously saved remixes and stems, as well as any publically available stems and loops provided by Fadr. By default, the My Remixes tab will be selected, and the view can be changed by clicking the My Stems or Public Stems buttons. You can also search through your remixes and stems using the search field.
Let's look at a saved remix:

- Use this button to upload an image for your remix. Think of this like adding album art.
- Use the + to load this saved remix into the editor
- Preview the most recent export of the remix (if no export exists, this icon will disappear)
- The name of the saved remix
- The global key and tempo of the remix
- The stems present in this remix. Hover over the icons to see the stem type and source song.
- The time when this remix was last loaded or modified
- Delete this remix (permanently)
You can also drag and drop the entire remix bubble. If you drop the remix into the editor at the top of the screen, it will load. If you drag it to another position in the remix list, you can rearrange the list (the rearranged order won’t be preserved after reloading the site).
Let’s now switch to the My Stems tab and look at a saved stem. If you don’t have any stems yet, the Public Stems tab looks the same.

- Upload an image for your stem (This time an image has already been uploaded. To change it, upload a new image.)
- Preview the source track
- The name of the source track
- The detected key and tempo of the source track
- The available stems from the source track. Click the + or drag and drop to add the respective stem to the remix
- The date the track was stemmed
- Click here to drag and drop the track. This allows temporarily rearranging the stems list.
- Delete the track and its stems (permanently)
The Remix Editor
First, drag and drop a stem to get started. Then we’ll go over the Remix Playback Engine and all of the available controls and options.

After you drop in the stem, a new remix will be created:

We’ll break this down into major components:

- Remix global settings and controls.
- Remix timeline. Displays a grid of beats above the waveform. The grid will adapt to the current zoom and scroll.
- The waveform bubble. The colored bubble shows the position and bounds of the (potentially transformed) stem inside the timeline. The bars provide a visual for the underlying audio waveform, and the yellow bars indicate playback progress.
- Stem-specific controls. Here you will find details and controls related to this specific stem.
- The scroll bar. Drag the edges to zoom in and out of the timeline and drag the center to scroll through the timeline.
- Export. This will create a high quality render of your remix which can be downloaded.
The Playback Engine
Though not visible, the backbone behind Remix is the custom AI playback engine that we developed here at Fadr. It is possible to play back remixes within the browser and hear changes instantly and live as it plays back. Every stem in a remix is automatically synchronized by stretching and tuning it on-the-fly to match the remix’s currently selected tempo and key.
Remix Global Settings
The top row of the remix contains some options and controls that govern the entire remix.

- Upload an image for your remix.
- Playback controls. The seek (left) button will reset playback to the beginning of the timeline. The play (right) button will play or pause your remix. (When the remix is actively playing, it will display a pause icon).
- Rename your remix.
- Toggle metronome on and off. When the metronome is on, there will be audible clicking at every beat. Every fourth beat plays a slightly different click to indicate the downbeat.
- Global tempo in beats per minute (bpm). Stems will be sped up or slowed down to match the selected tempo. Increasing the tempo will make your remix play faster, and decreasing the tempo will make your remix play slower.
- Global key. Stems will be pitch shifted to match the selected key. Increasing or decreasing the key will increase or decrease the pitch of the remix, though if a stem is pitch shifted too much it lowered or raised an octave.
- Toggle fullscreen mode. This makes a much larger window that contains only the remix editor.
- Save and close your remix. Your remix is also autosaved every time you make a change.
Waveform/Bubble Controls
There are several different ways to interact with and transform bubbles: align, trim, and repeat. Aligning a bubble repositions it on the timeline. Trimming removes audio from either end of the stem, allowing selection of a smaller portion of the original stem. Repeat will loop the currently trimmed portion of the stem any number of times. Align, trim, and repeat will always snap to the beat grid visible in the timeline. Use the zoom features to change the resolution of the grid.

- Drag the left edge inwards to trim the stem from the start
- Drag anywhere except the edges to align the stem
- Drag the top right corner outwards to repeat the clip
- Drag the right edge inwards to trim the stem from the end
When a stem has been repeated, multiple bubbles will be displayed side by side to distinguish between a longer selection and multiple copies of a shorter selection:

Note that fractional repeats are allowed, meaning that the final copy may be shorter than the previous copies. This is indicated by a smaller bubble at the end.
When hovering over the edge, the cursor will change to indicate which trim or repeat features are available:


Trim cannot extend the length of the stem beyond its original length, and repeat cannot reduce the length of the trimmed stem. Additionally, to avoid strange and unintuitive behavior, trim is disabled whenever the stem has been repeated. To adjust the trim of a stem, remove any repeat by dragging the top right corner as far left as possible.
Stem Controls
Other aspects of the stem can be adjusted using the controls panel to the right of the waveforms.

- Information about the stem, including the name, tempo, key, and stem type (indicated by the icon).
- Solo this stem, which mutes all other stems.
- Mute this stem.
- Adjust the volume of this stem.
- Adjust the pan of this stem. Positive pan will “move” the stem into the right audio channel, and negative pan will move it into the left audio channel.
- Remove the stem from the remix.
- Open the advanced settings menu.
Opening the advanced settings menu will reveal a few more options:

- Adjust the playback speed separately from the global tempo. If the stem is playing too fast, reduce the speed to 0.5x to slow it down. Likewise, if the stem is playing too slow, increase the speed to 2x to speed it up.
- Turn on or off tuning. When enabled, the stem will be tuned to match the global key. When disabled, the stem will not be tuned.
Adjusting the View
While the timeline encompasses the entire remix, the view can be adjusted to display only a smaller portion of the timeline, allowing more fine adjustments to be made. The main way to control the view is to use the scroll bar located below the waveforms. By dragging the edges inwards, the view will be zoomed in. Likewise, dragging the edges outward will zoom out. When zoomed in, the center of the scroll bar can be dragged to scroll the view left and right. The relative size and position of the scrollbar within its frame will indicate where the view is relative to the entire timeline.

There are several shortcuts available for adjusting the view. Scrolling the mouse while hovering over the waveforms will scroll the view left and right. Additionally, holding the Ctrl key while scrolling will zoom the view in and out. Zoom can also be controlled by using the keyboard. Ctrl + will zoom in, Ctrl - will zoom out, and Ctrl 0 will reset the view to fully zoomed out.
It’s also possible to adjust the view with certain bubble controls. When adjusting the align, trim, or repeat of a bubble, if the mouse moves too far left or right outside the area containing the waveforms, then the view will be scrolled in the respective direction. Additionally, if a bubble is aligned or repeated beyond the end of the remix, then the remix will automatically extend the timeline and available view to fit the bubble. Similarly, if a transform would shorten the length of the remix, the timeline and view will shrink when the mouse is released.
Export a Finished Remix
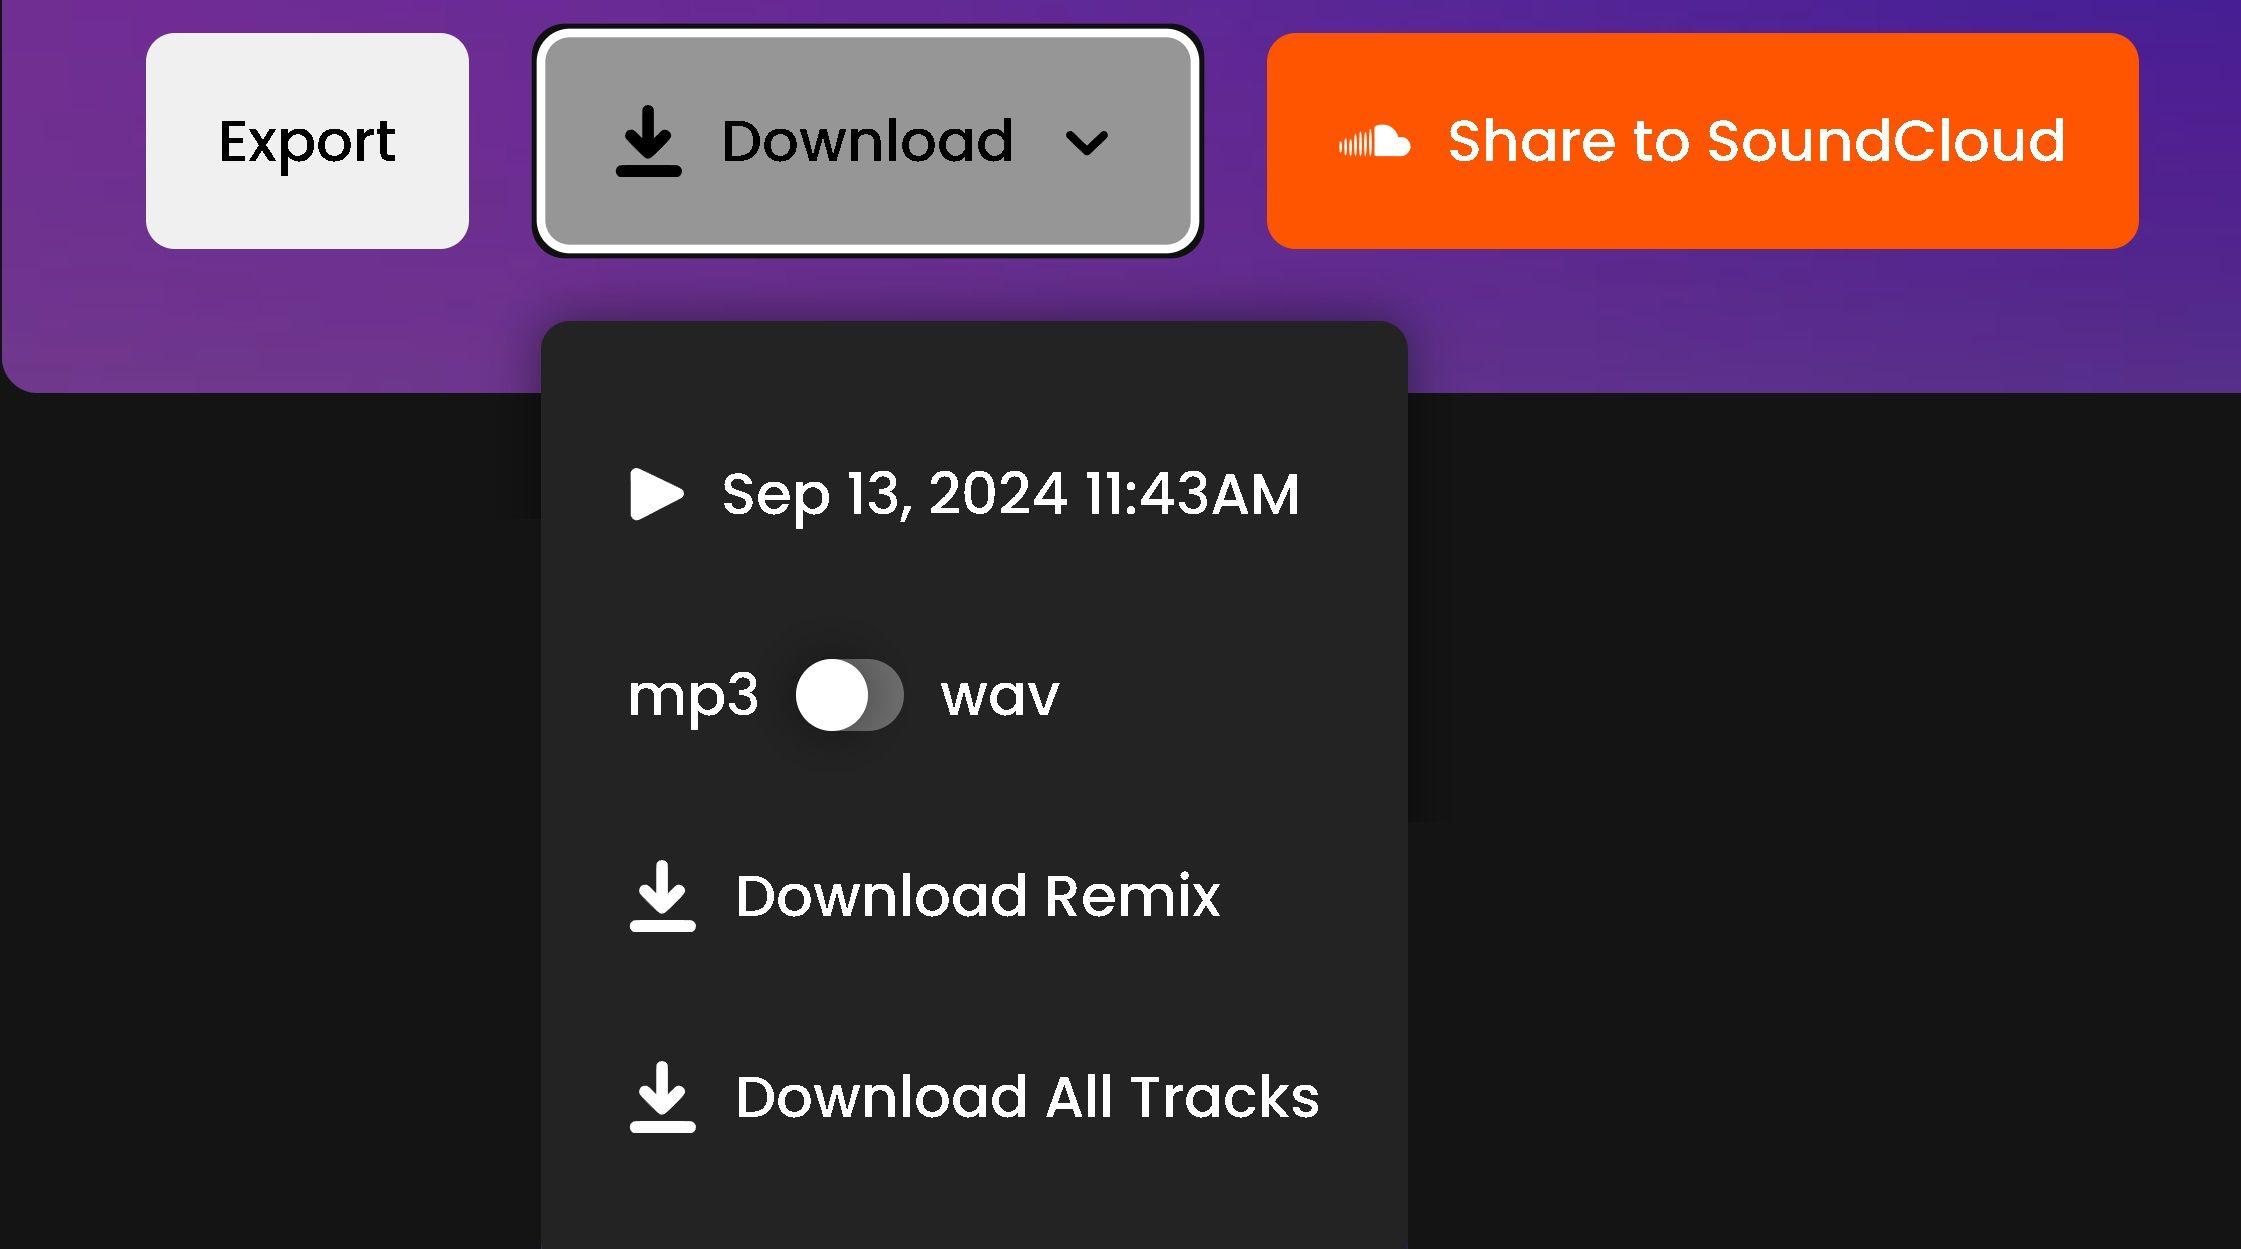
When a remix is complete, it can easily be exported and downloaded. Clicking export will compile the current set of stems and their transformations and send it to Fadr servers for rendering. The stretch and tune algorithms used during a final render are much higher quality than the ones available within the browser preview. When rendering is complete, the resulting audio file will be saved and made available for download. The download button will download the most recent export, and will be hidden if no exports are available.

What's Next?
Please check out our other guides and tutorials for making remixes and using the Fadr website at the Help Page. If you have any feedback, find a bug, or have a feature suggestion, do not hesitate to fill out our contact form. Thanks for using Remix from Fadr, and we can’t wait to hear what you make next!